For the individual 3D print rotation I decided to make an organizational tool that can hold 50 pennies. I had made an organizational tool on tinkercad before we started working on rotations, although it was just a box divided into 4 different sections to organize different stuff. Since I had plenty of time I decided to make a more complex organizational tool on inventor. I wasn't sure what to do until I came up with the Idea to make a 2D basketball design for my organizational tool. My organizational tool would look like a 2D basketball with the black lines on the basketball being the dividers on my organizational tool.
Once I had came up with my idea I had to come up with some dimensions that could easily hold 50 pennies, but at the same time wasn't overly big and didn't use too much filament. This meant I had to look up the dimensions of the penny and then come up with a diameter of my circle that would allow me to fit multiple pennies flat in each section of my organizational tool. Then I had to make sure the height of my organizational tool was big enough so that I could stack the pennies to hold 50 pennies.
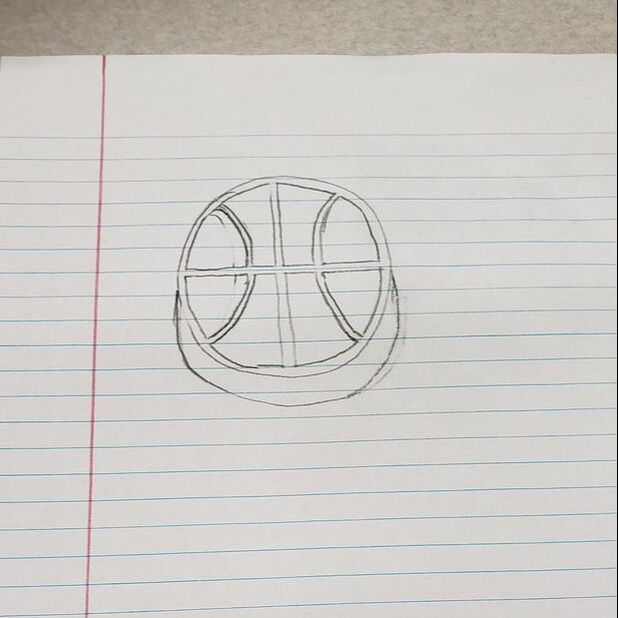
My organizational tool design.
|
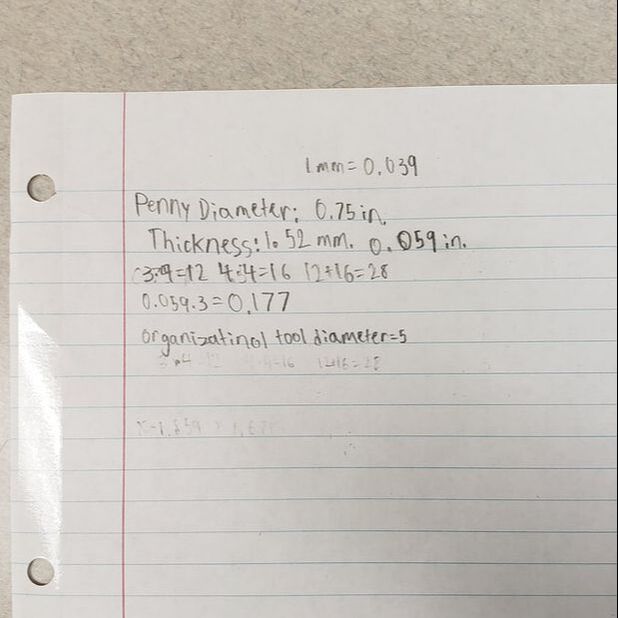
My pre-work that I did to find the dimensions of my organizational tool.
|
After I figured out my dimensions for my organizational tool, I had to make it on inventor. I started by making my circe and dimensioning it on the XY plane, I then extrude my circle one inch. Then, I sketched out what would be the black lines on a real basketball, I took some playing around with my curved lines, but I eventually got them to be the same on both sides. I was then able to extrude the eight sections I created 0.9 inches in. The leftover 0.1 inches was now the base of my organizational tool which I had now finished designing on inventor.
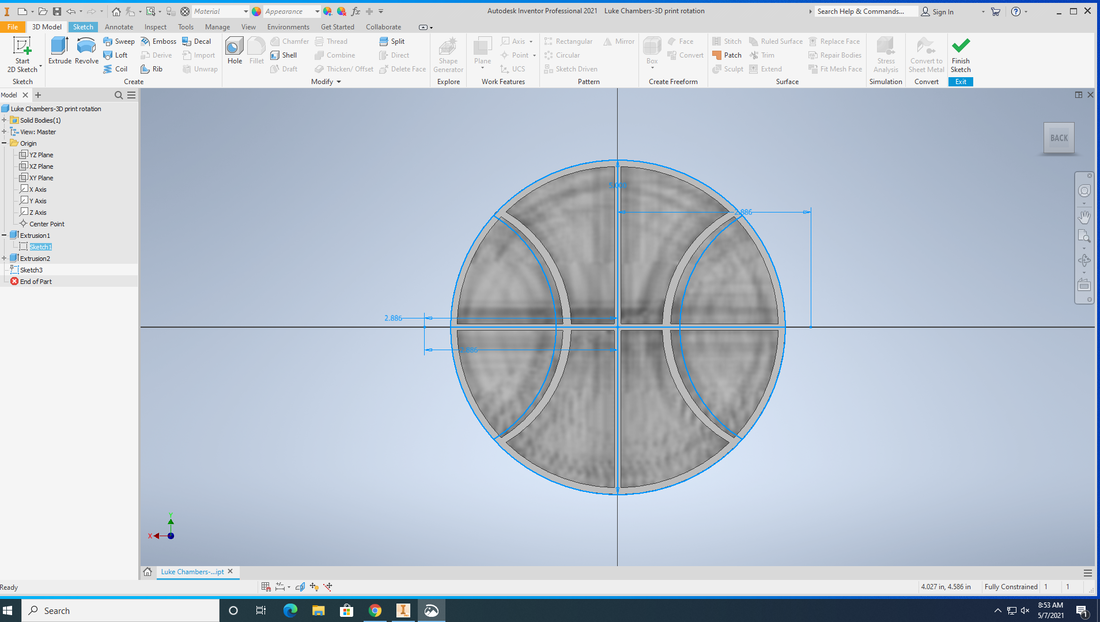
Some of the dimensions I made on inventor.
|
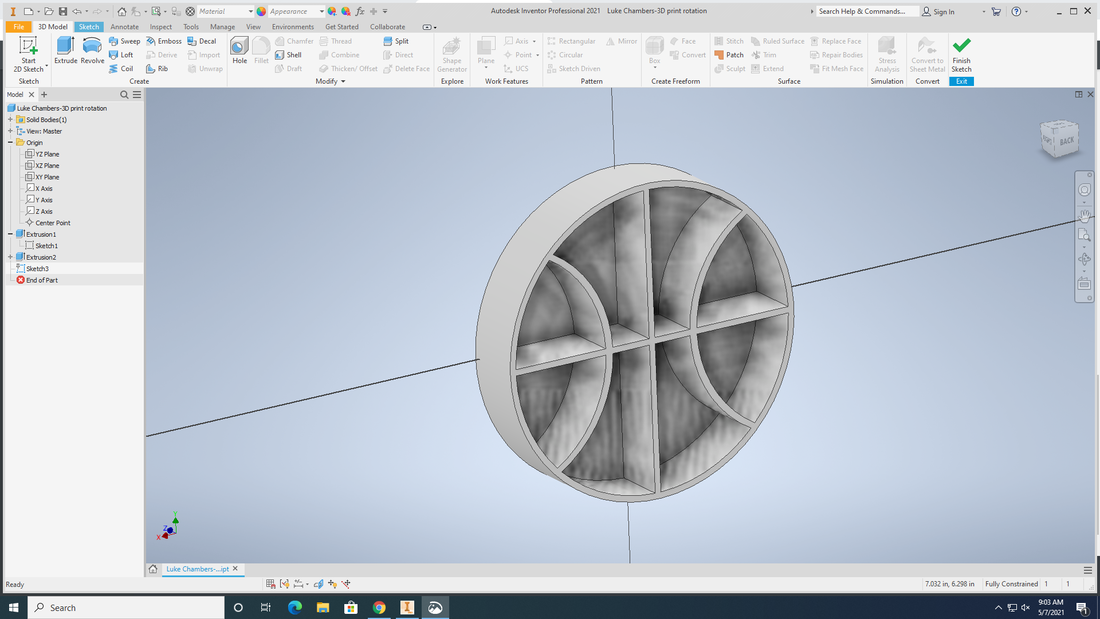
My finished organizational tool on inventor.
|
Next, I had to export my inventor file to makerbot and scale it so that it was the same size that I had it on inventor. Then I had to change some of the settings on my makerbot file before I could export my makerbot file to my flashdrive. By doing this I got my print preview and since it looked good I was able to print on the 3D printer.
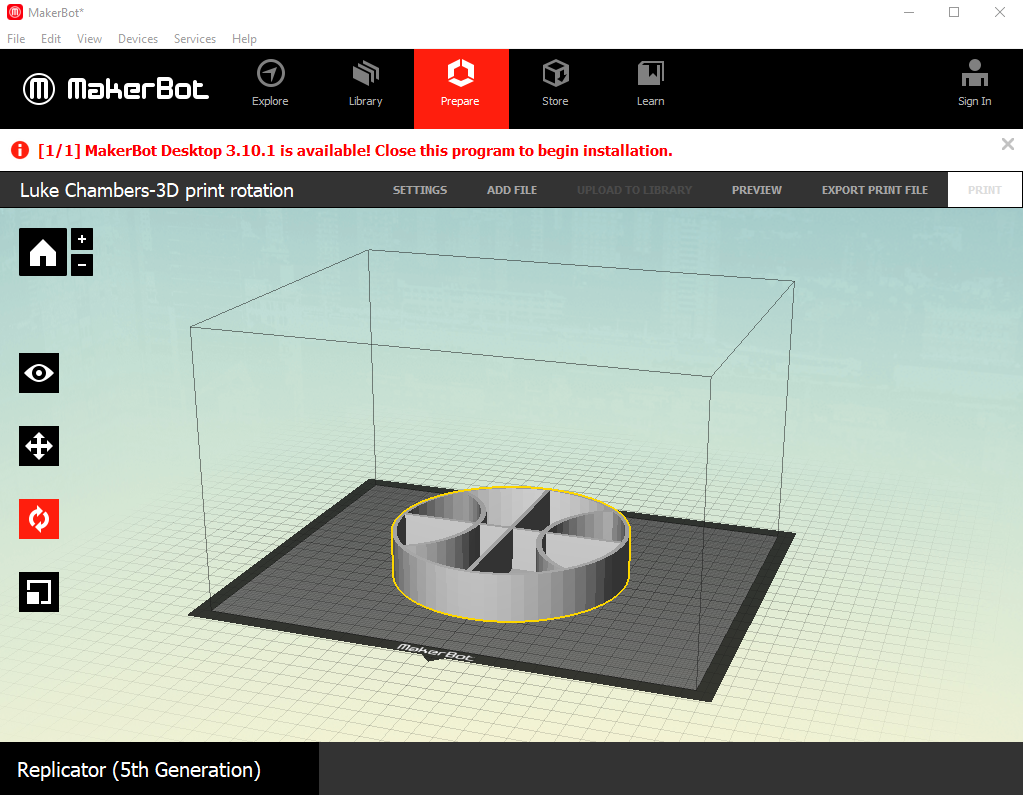
My organizational tool file on makerbot.
|
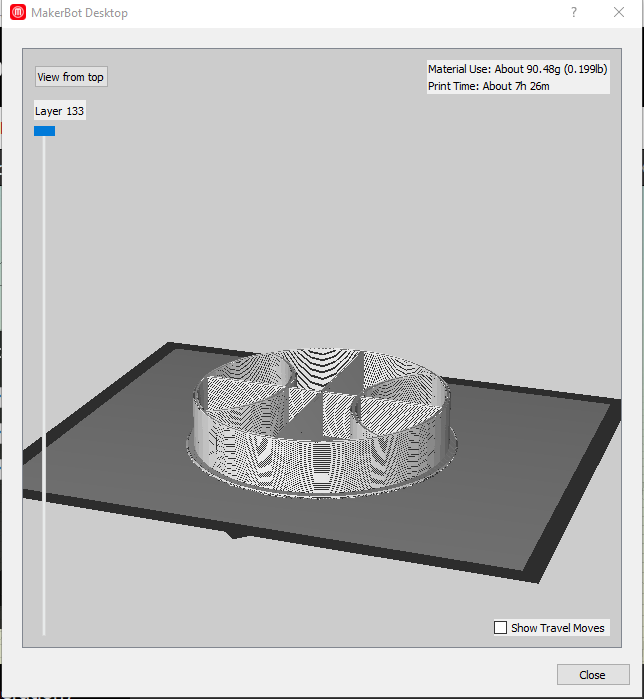
My print preview on makerbot.
|
Finally, I had to print my organizational tool on the 3D printer. This meant I had to check the filament on the 3D printer I was going to use and then I could put my flashdrive into the 3D printer and select my file. Then the 3D printer had to heat up and move into position before printing the raft and eventually my organizational tool.

My organizational tool printing on the 3D printer.
|
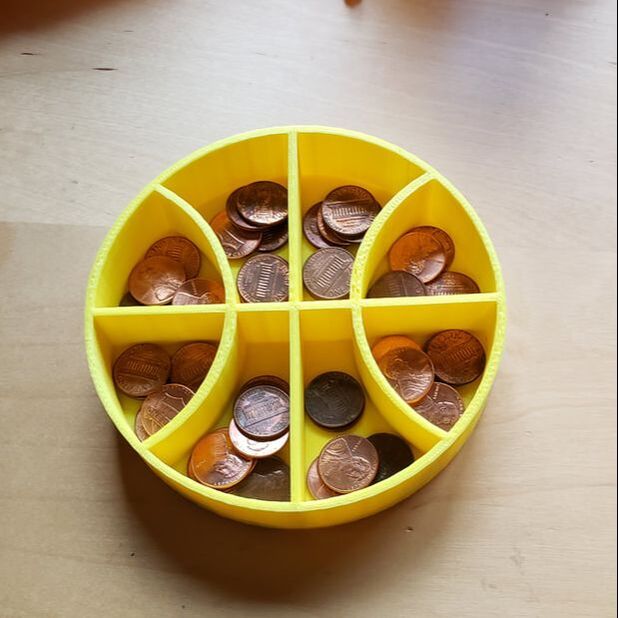
My finished organizational tool holding the required 50 pennies.
|
In this 3D printing rotation, I got to be creative and learned how to plan and design something on paper. Before going to inventor, I had to come up with dimensions that would easily fit fifty pennies and so this took some research and math. This pre work helped me become familiar with designing and coming up with dimensions of an irregular item to have it fit a specific amount of stuff, so that I am more prepared for future projects like this. I also learned more of the features on inventor and got to experiment with inventor. To create my organizational tool I had to use the arc tool on inventor and then mess around with the dimension tool to get the arcs the same on each side. I also learned that you can extrude multiple parts at once which made it a lot easier to make my organizational tool. Through this 3D print rotation, I got another opportunity to use and become familiar with the 3D printer.
