My original idea for my vinyl decal was to have a forest with my initials in between the trees. I quickly ran into a few problems, first off I couldn't quite find the type of tree I wanted and I realized I needed quite a few trees to make it work which would have been a lot to make on the vinyl cutter. So I decided to shift to a bear design which had a bear inside a bear and then my initials would be in the middle and be colored orange. The outside bear was supposed to be brown and inside the bear was going to be black, but when I went to make it on the vinyl cutter I realized there was no brown vinyl. So I ended up using yellow for the inside bear and black for the outside and I still had my orange initials in the middle.
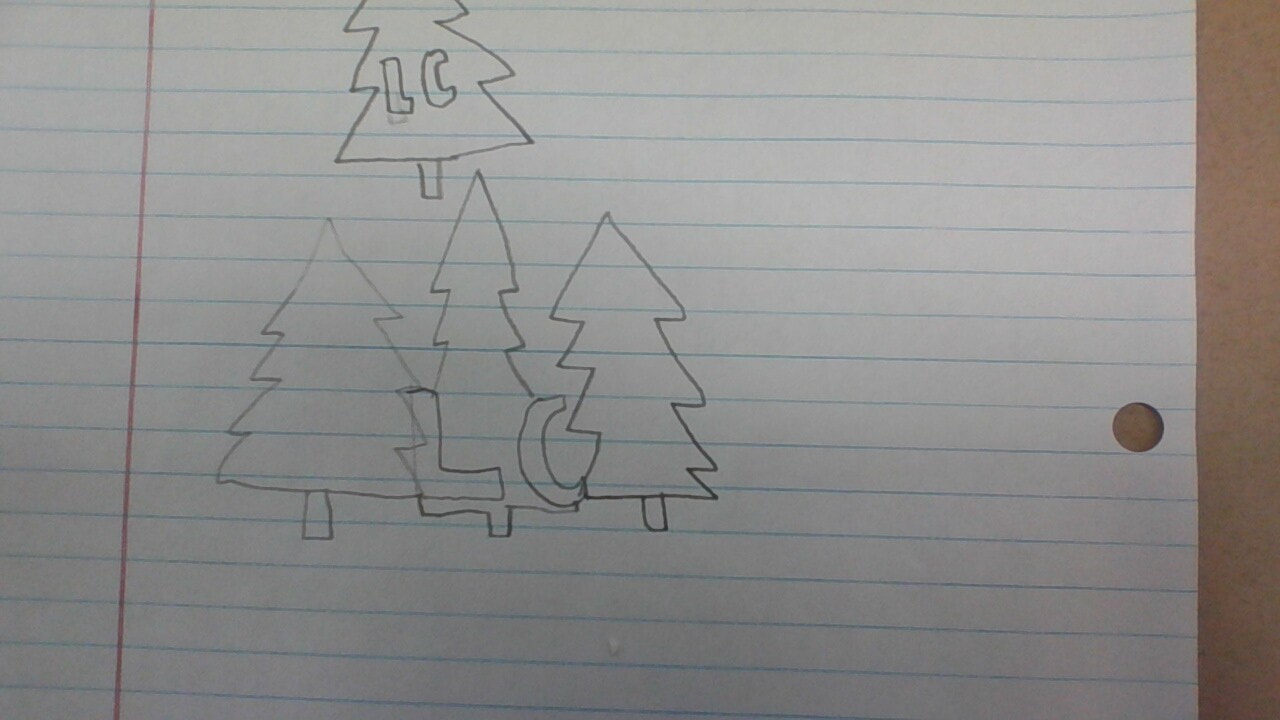
A few of my original sketch ideas.
|

The tree I was going to use for my decal.
|
In order to make my decal I had to use illustrator to complete my design. Using illustrator I was able to insert the images I wanted to use and then resize and change the color of them. I couldn't have them my logo all together because I needed to make the different parts separately on the vinyl cutter.
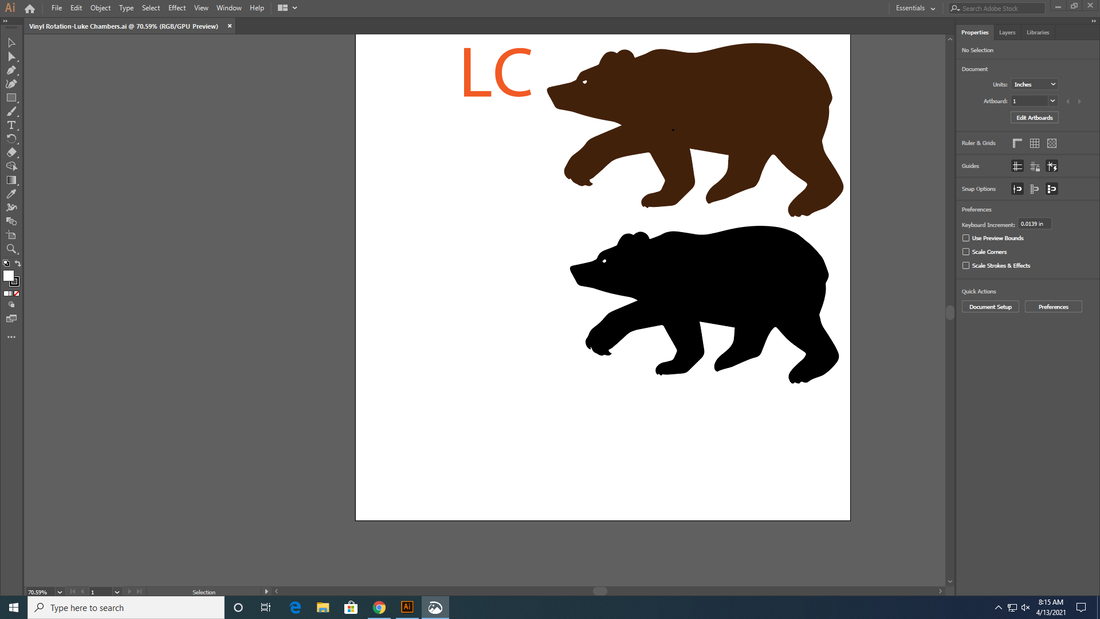
My illustrator file on illustrator.
I also had to cut out the different parts of my decal using the vinyl cutter. In order to cut out the parts of your decal, I needed to save my illustrator design on a flash drive and then open up my design on the computer hooked up to the vinyl cutter. Once I had opened up the print preview screen and checked that I was using the least amount of vinyl I hit send and the vinyl cutter then cut out the part of my decal that I was making.
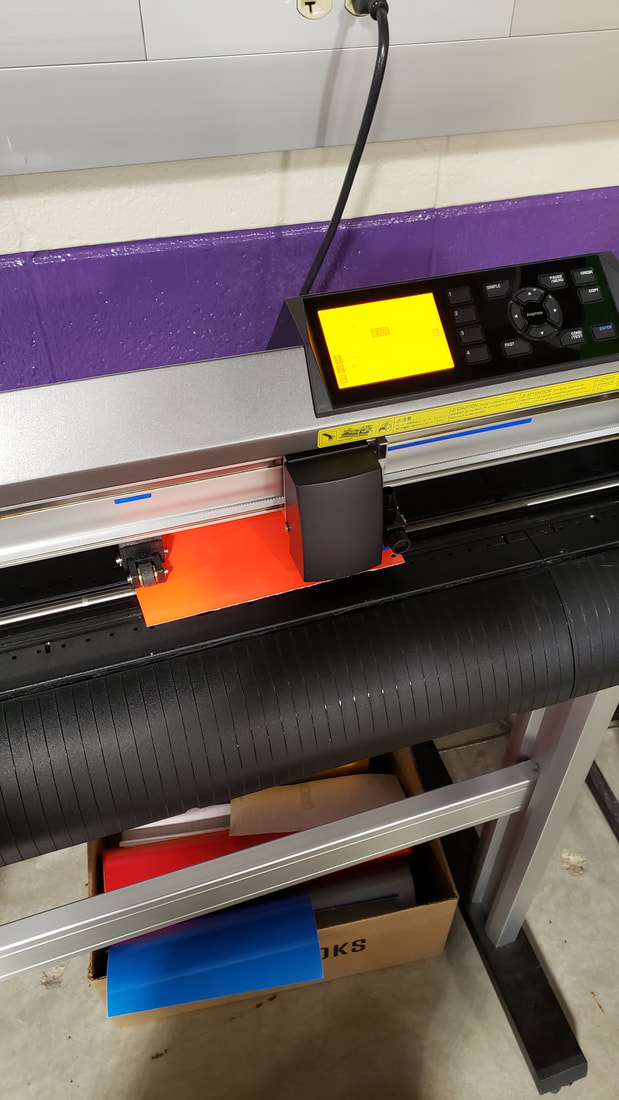
My vinyl in the vinyl cutter ready to be cut out.
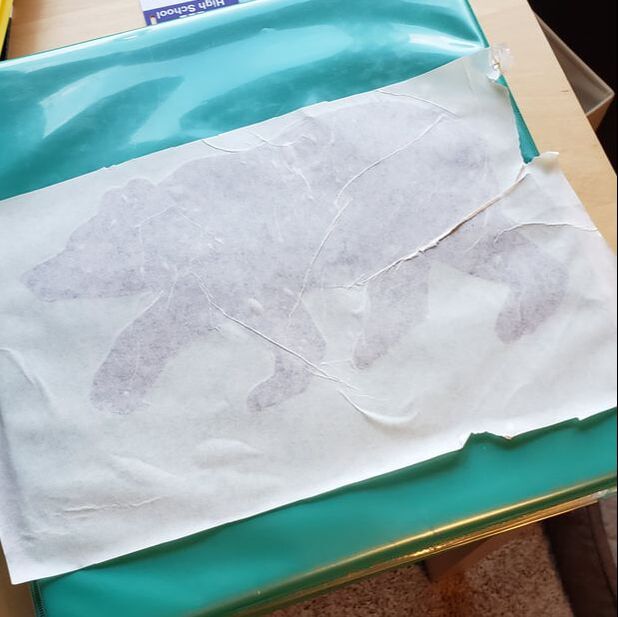
Once my vinyl came out of the vinyl cutter I needed to weed my vinyl which meant I had to get all the extra vinyl that wasn't part of my decal off. Once I did that I was able to apply the transfer tape to the vinyl and use the squeegee to make the transfer tape stick to my decal. Once I did that I cut off the extra transfer tape and took it home to apply to my binder. To put my decal on my binder I had to take the vinyl backing off so that the sticky side of my decal was face up. I was then able to line up my decal parts and place them on my binder, and once I had pressed them on using my school ID I was able to remove the transfer tape and see my finished product.
Applying my decal to my binder
|
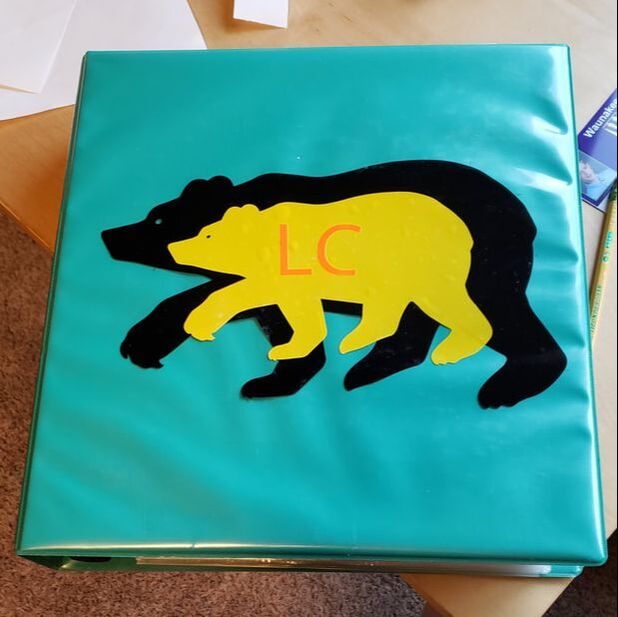
My finished decal on my binder
|
Through this individual vinyl rotation I learned how to better manage my time, became familiar with using a vinyl cutter, and learned the process of applying a decal to something. I had one less class period than IDEA students would normally get to complete this assignment and so I had to work quickly which I didn't always do. I fell behind early trying to work out a design that I liked and that wouldn't be overly complicated when I should have came up with a design beforehand or at least taken more time thinking out what I wanted to do right away. I was also hesitant to ask questions when trying to use the vinyl cutter and apply my decal to my object which slowed me down and so in the future I will try to ask someone right away. I became familiar with using the vinyl cutter through this assignment as I now know how to put in a sheet of vinyl and then get the vinyl cutter to cut out the particular design I want. Finally, I gained a better idea of how to apply vinyl to an object through this assignment. I didn't get my transfer tape smoothed out enough and so some of my decals didn't completely stick to it and they had a lot of air bubbles, but now I know to smooth out the transfer tape before using the squeegee.
