Inventor is a program that allows you to design and create your own shapes and parts. We used Inventor to create 3D images of the parts that we drew on isometric paper. We first had to create a 2D object and dimension it, and after we did that we were able to extrude it to make it 3D. You can also make holes on Inventor by intruding a part of your object. After we made our widgets on Inventor we put them into Makerbot and saved them on a flashdrive so they could be 3D printed.
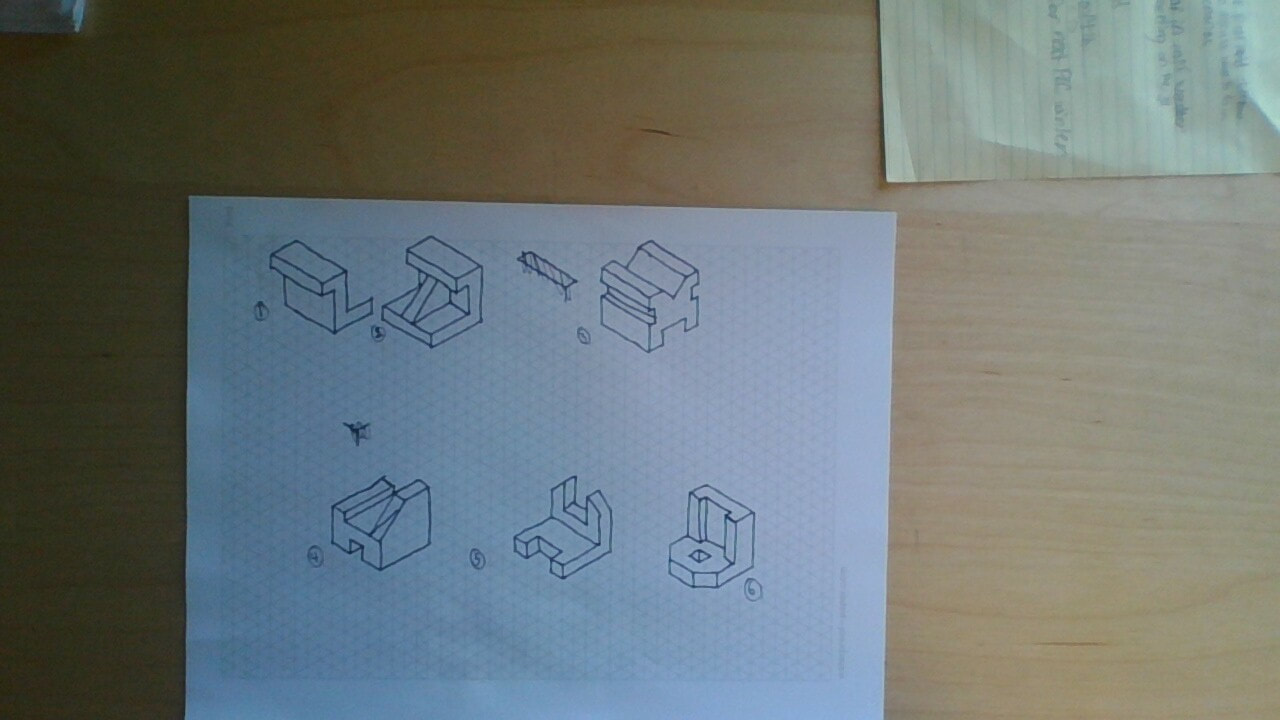
The widgets I drew on isometric paper.
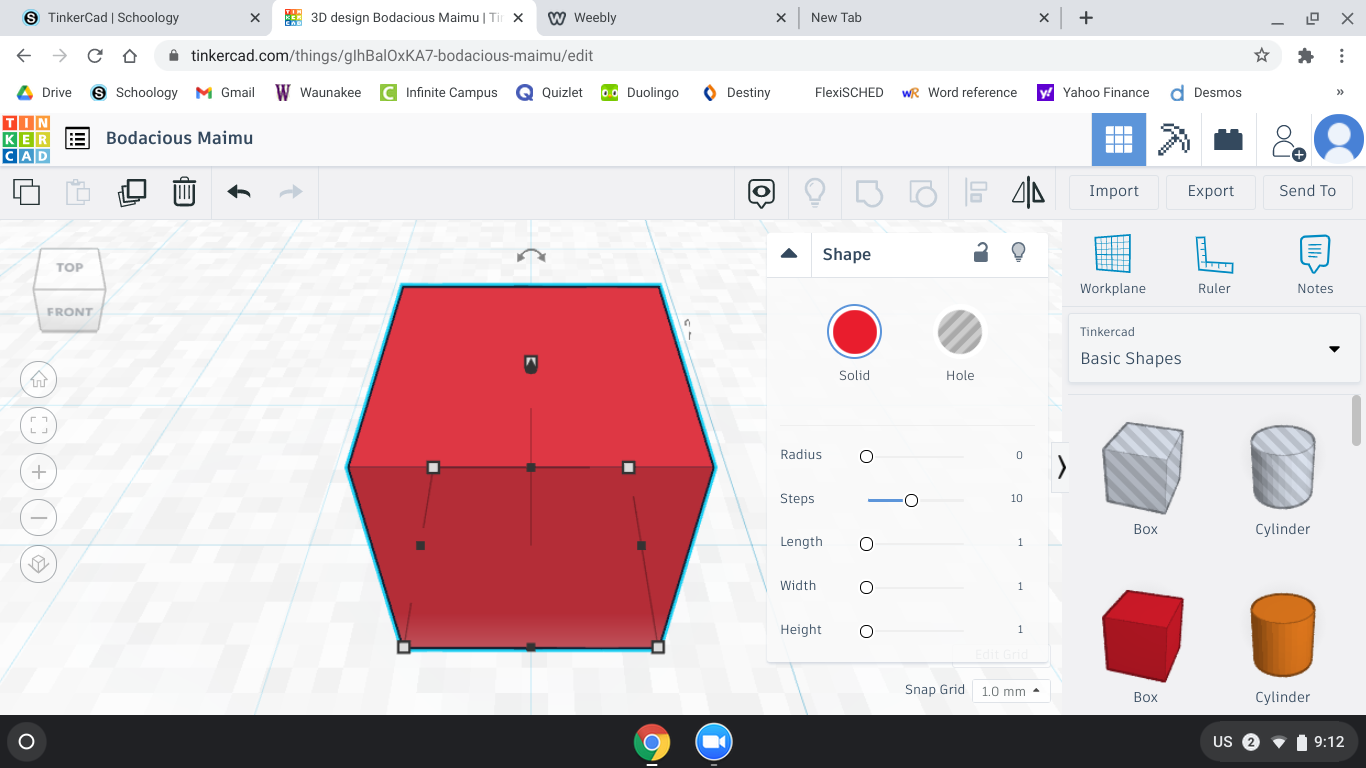
I started out making my widget by putting a box into the plane and dimensioning it so that it was 1 x 1 x 1.

|
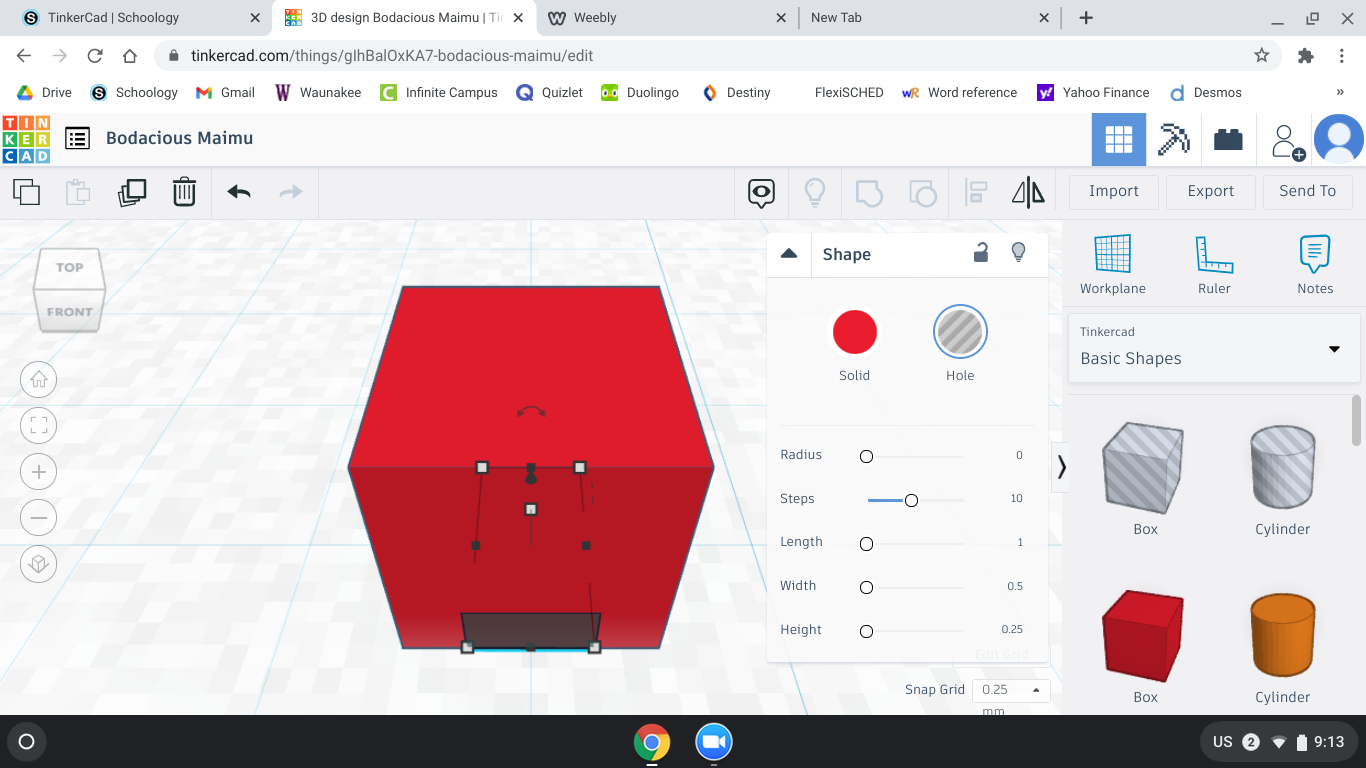
I then inserted a grey box, dimensioned it to be 0.5 x 0.25 x 1, and moved it into place.
|
|
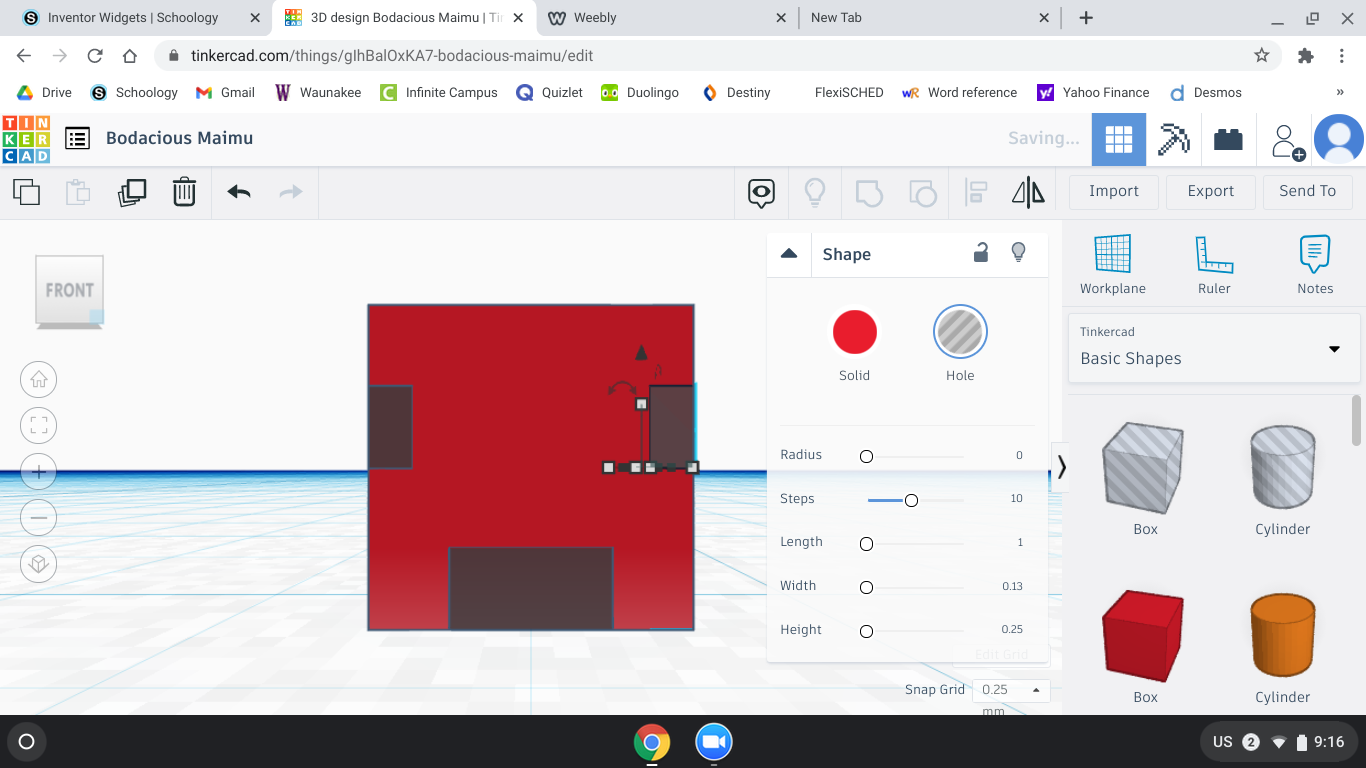
I then inserted another grey box and dimensioned it to be 0.125 x 0.25 x 1.
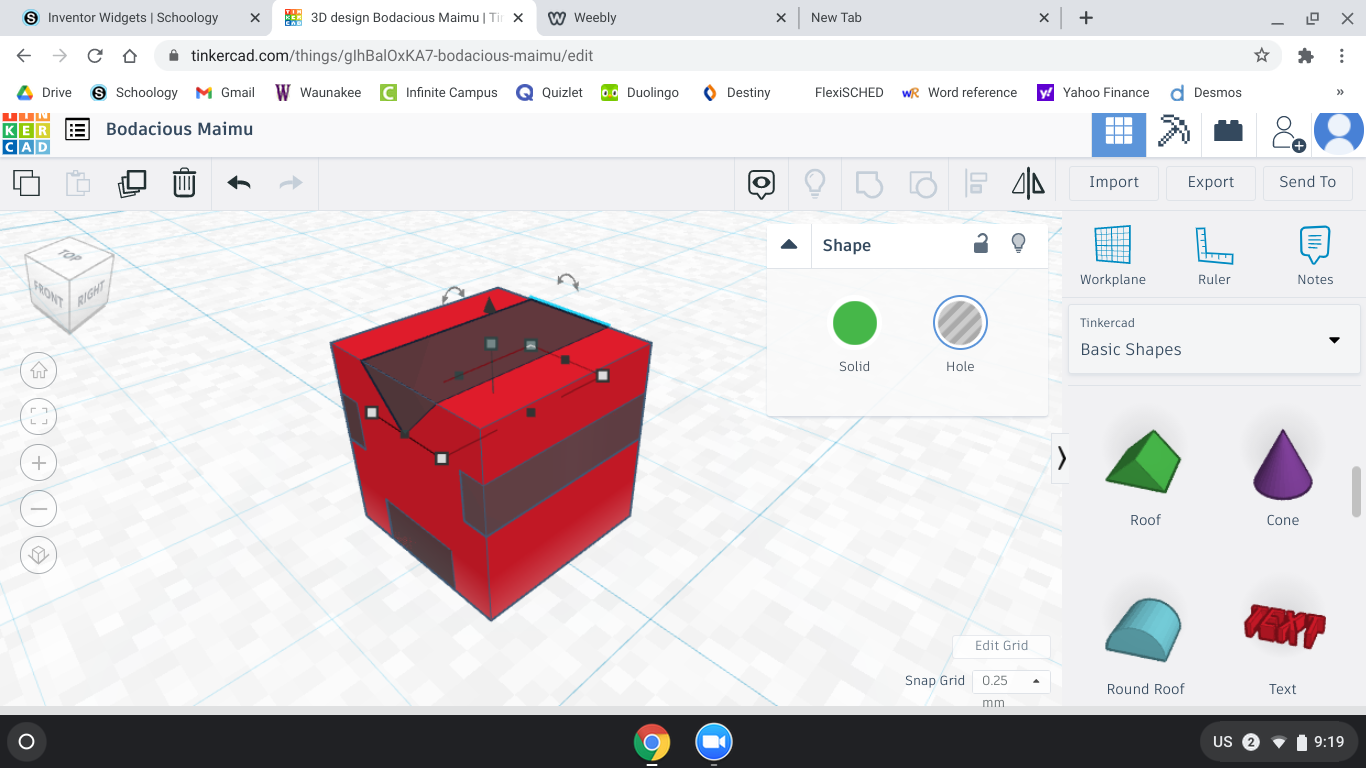
I then inserted a roof, made it a hole, rotated it, dimension it, and then moved it into place.
|
I made another grey box with the same dimensions and put it on the other side.
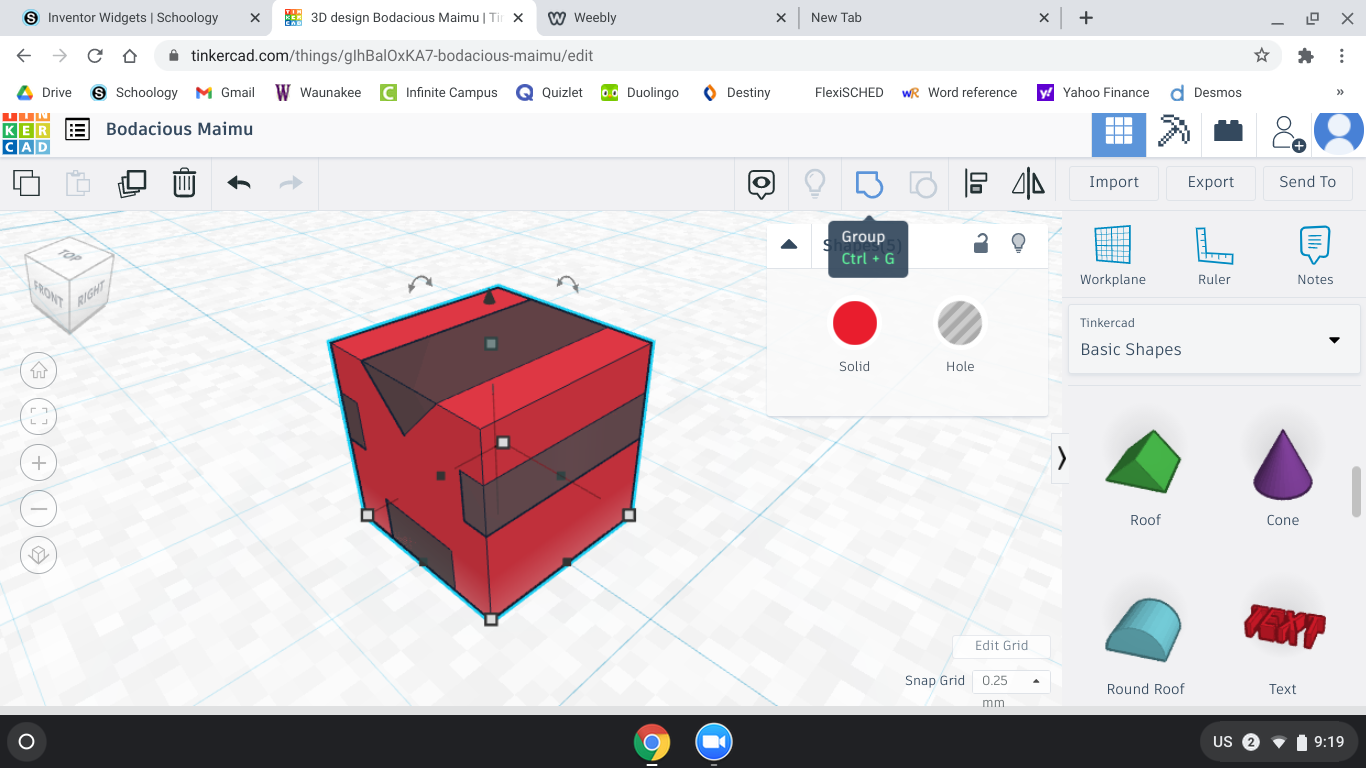
I then clicked and dragged over my entire box and grouped it so the grey boxes would disappear.
|
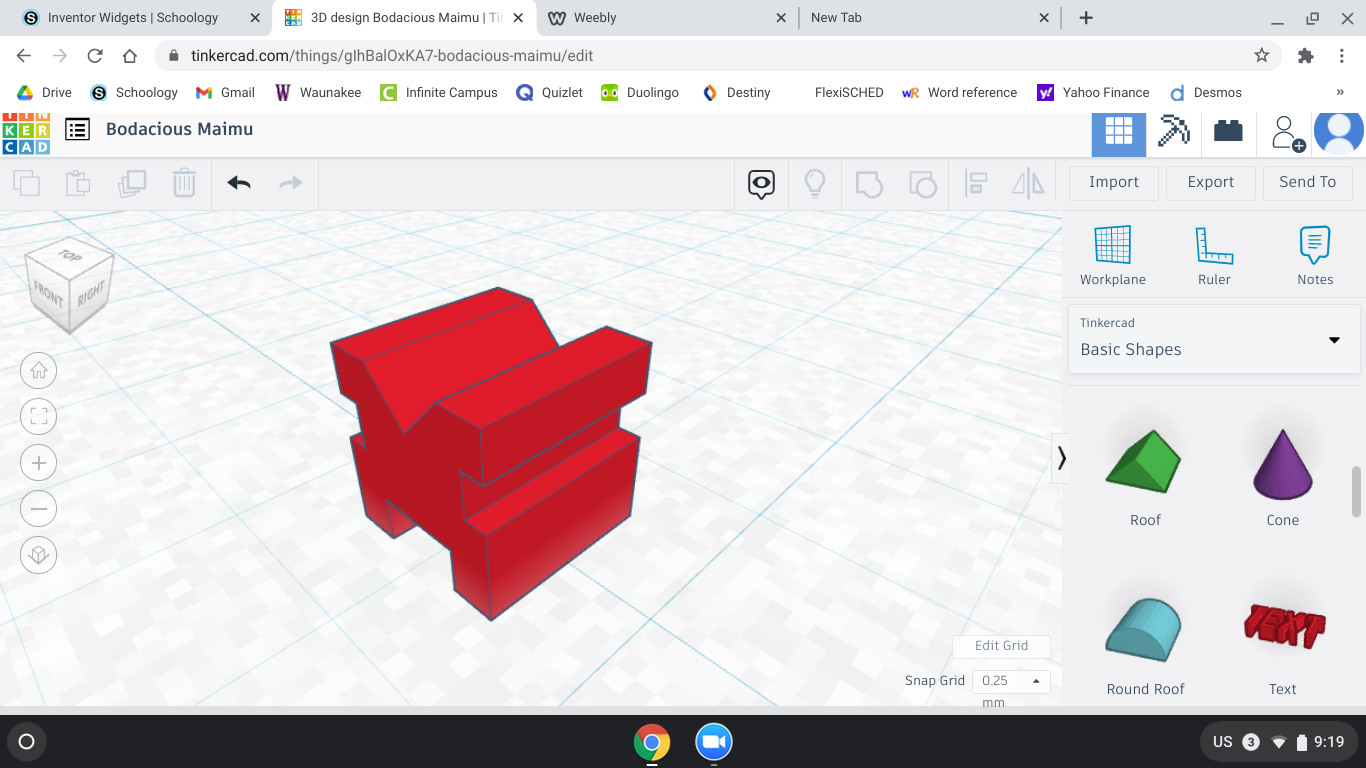
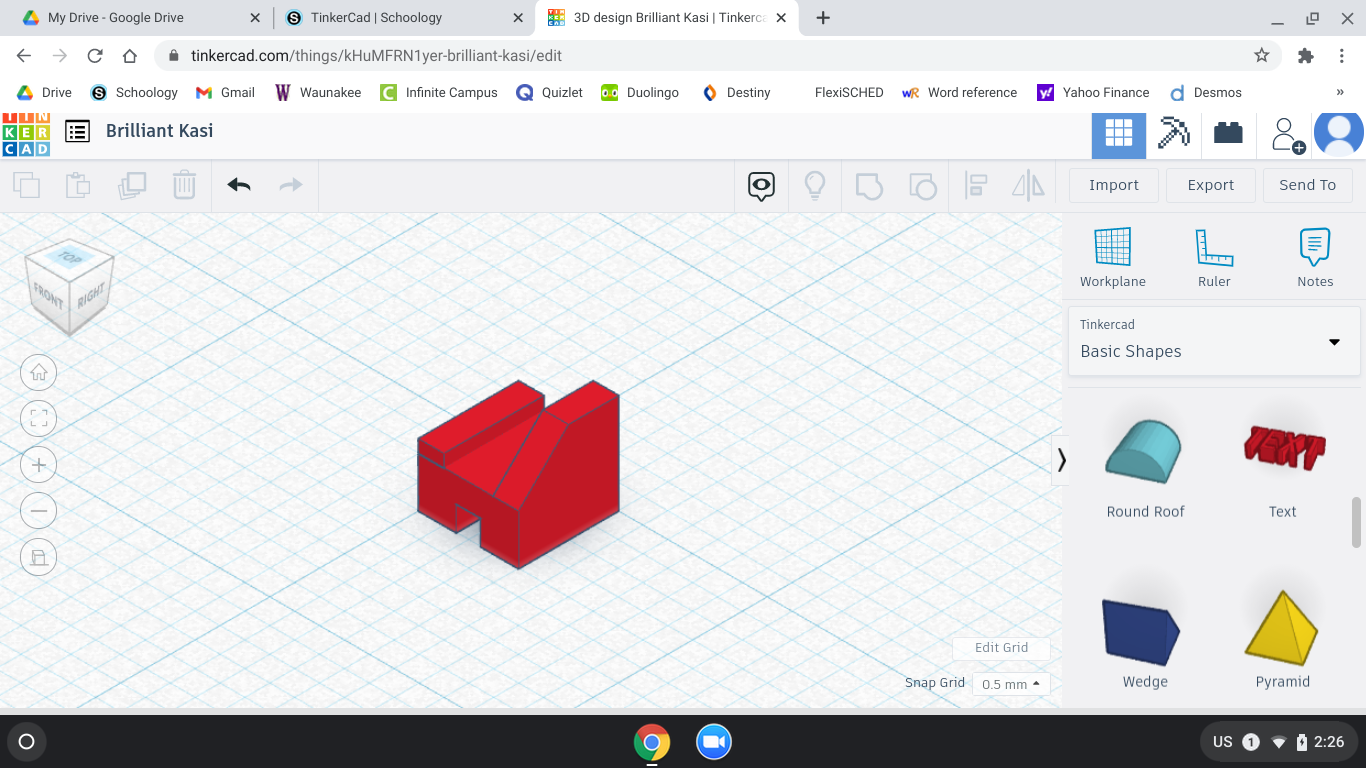
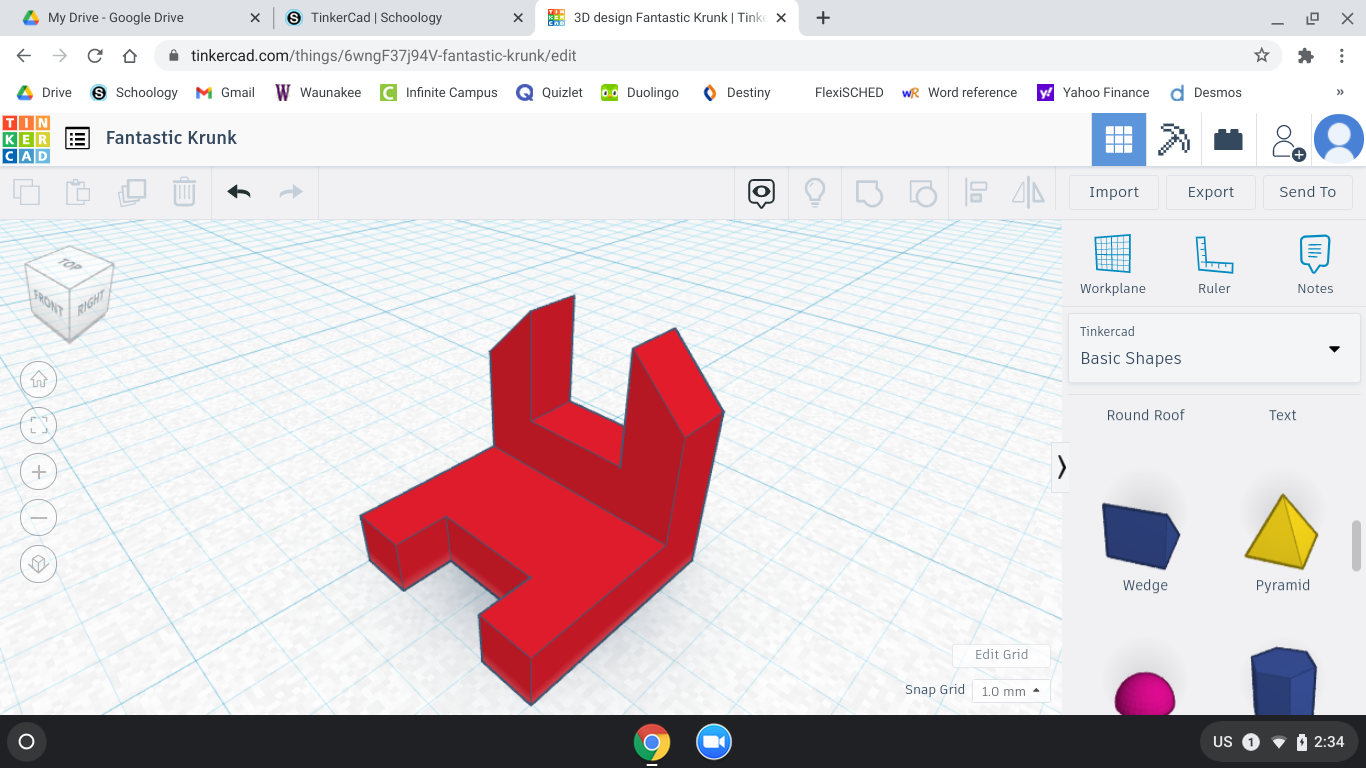
My final widget in Tinkercad.
|
|
|
|

|
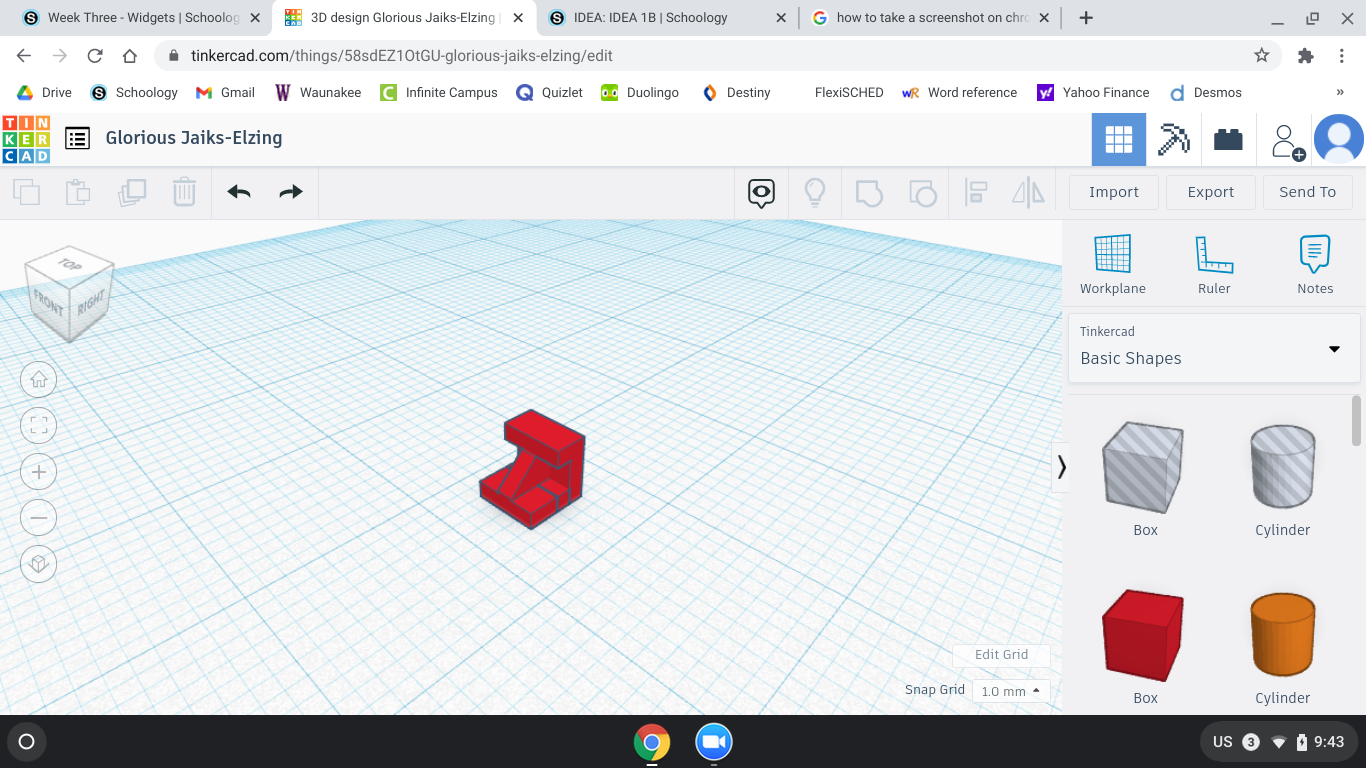
My other five widgets that I made, the one on the bottom left was made in Inventor and the other four were made in Tinkercad.
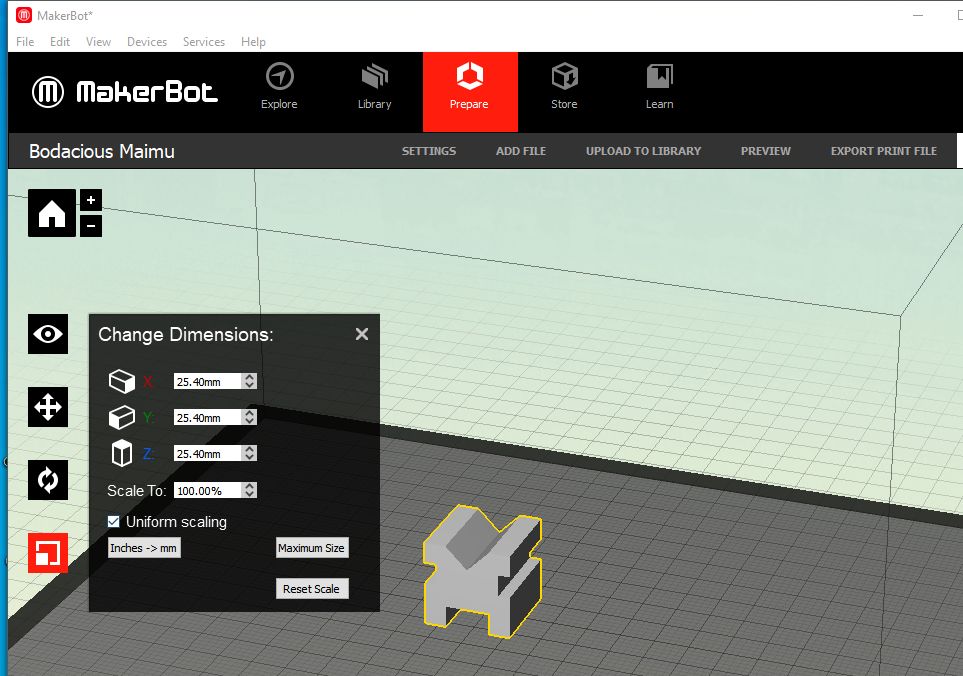
Inserting and dimensioning my widget in Makerbot.
|
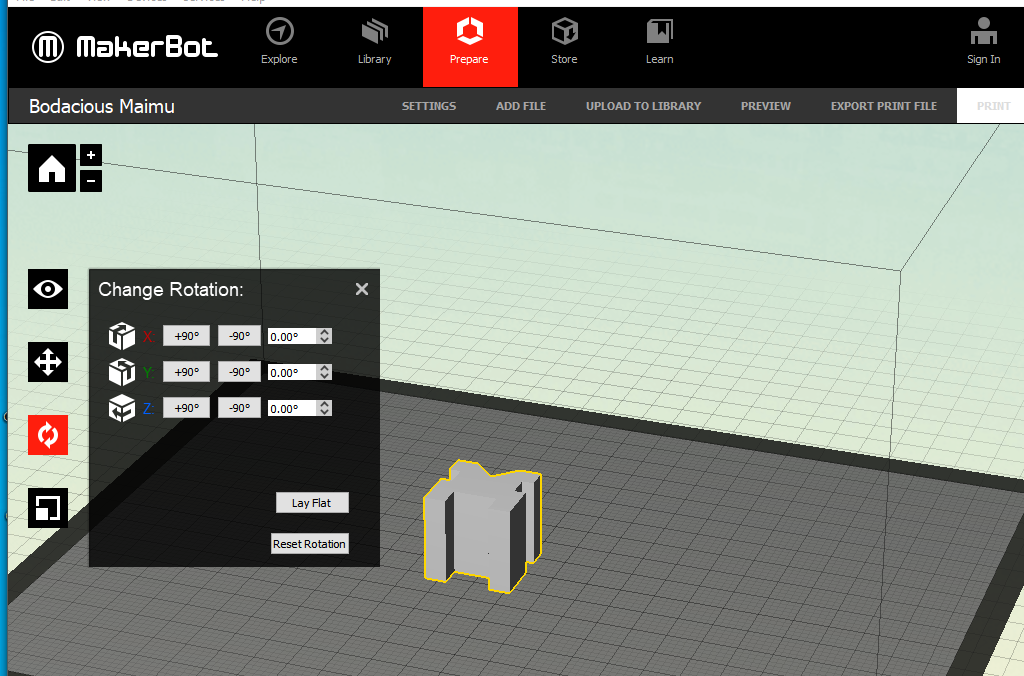
Placing my widget so that it doesn't need any supports in Makerbot.
|
My Makerbot preview screen
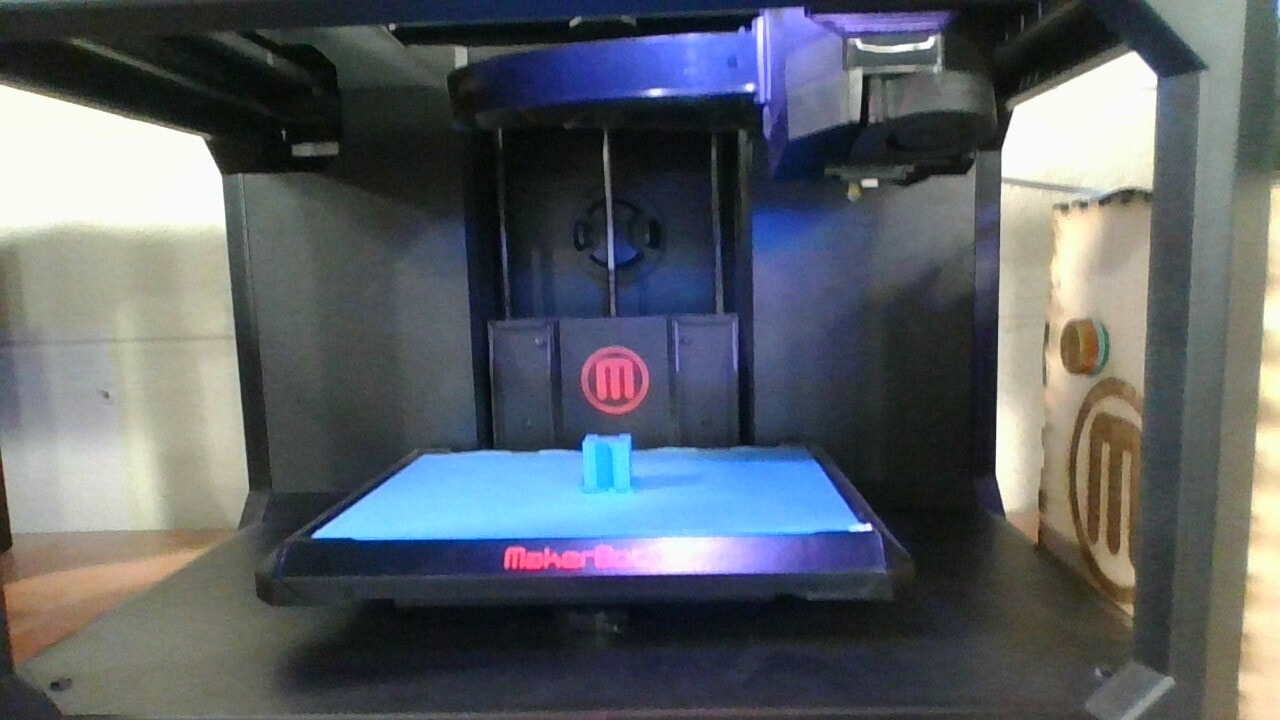
My widget in the 3D printer.
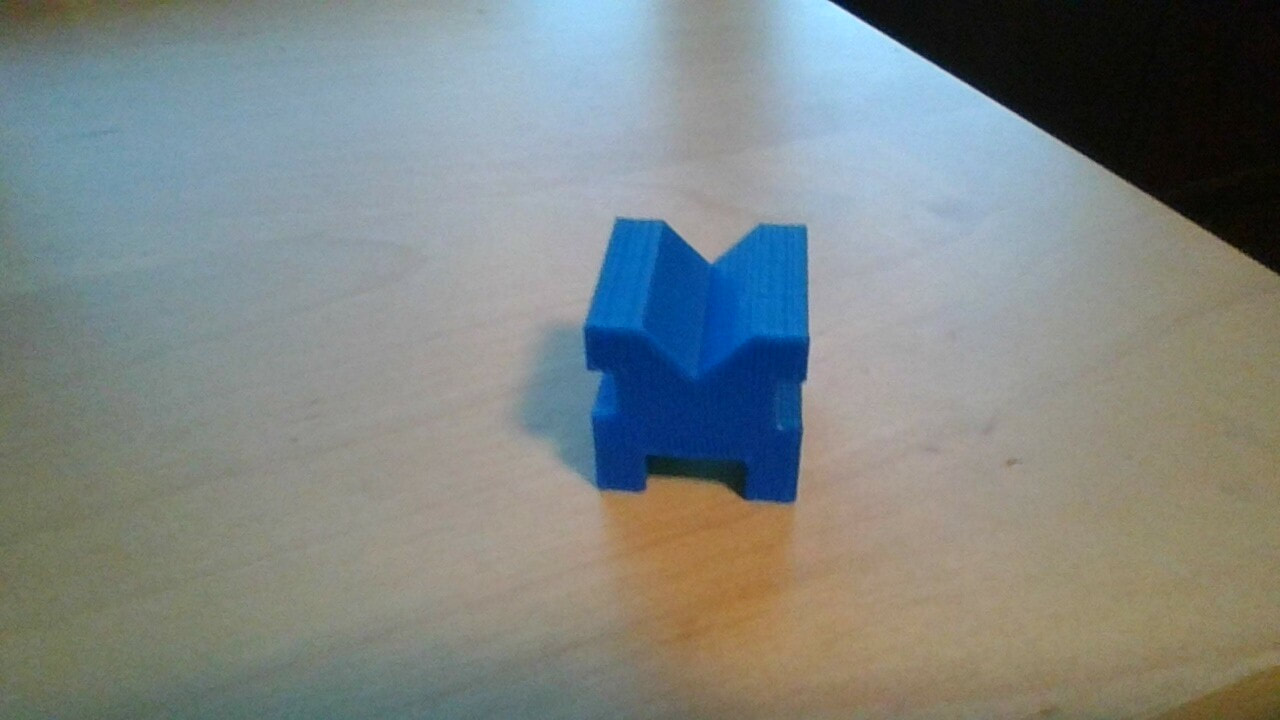
My printed out widget.
I learned a lot about 3D printers and how to use Inventor and Tinkercad in this introduction to 3D printing. First of all I learned how 3D printers work, what they can be used for, and I even got to see one in action. I was also able to learn to use Tinkercad and Inventor which are two programs that I hadn't used very much before. I had some problems learning to use Tinkercad, but from this I learned to work around my problems and try different solutions if one didn't work.
